
 Yahoo Finance
 How to make genuinely stylish pants out of a blanket
On this episode of In the Know: Upcycled, host and DIY guru Andrew Burgess, aka Wandy the Maker (@wandythemaker), breaks down the process of turning a blanket into a stylish, one-of-a-kind pair of pants.
What You’ll Need:
Step 1: Choose Your Blanket
For this project, Wandy goes with a woven tapestry blanket, because they provide a stylish fringe that’ll eventually go down the sides of the pants. Feel free to hit some local thrift shops and see what blankets you can find. No design is too crazy!
Step 2: Make the Outline
Roll out some pattern paper on the floor, and take an old pair of pants and fold them in half on top of the paper. Take a pen or a pencil, and trace all the way around the outline of the pants, leaving about half an inch of seam allowance. Wandy also recommends leaving some extra space at the top for the elastic as well as some extra space at the bottom for the hem. Once your outline is drawn, use scissors to cut it out. Then, repeat the same process for the back part of the leg.
Step 3: Cut the Blanket
Lay your blanket out on a flat surface, and place the pattern paper outline on the edge of the blanket, making sure the front leg panels and bottom of the pants aren’t covering the tassels of the blanket. Start cutting, making sure you’re right on the edge of the pattern paper, and also making sure not to cut the tassels of the blanket. Repeat this process for all 4 leg panels.
Step 4: Pin the Panels
Once you have all 4 panels, lay them out on the floor, matching the front and back panels for each leg. Once the panels are lined up, overlap the tassels on the bottom layer about half an inch, and start pinning the overlapped sections. Do this for both the right and left leg.
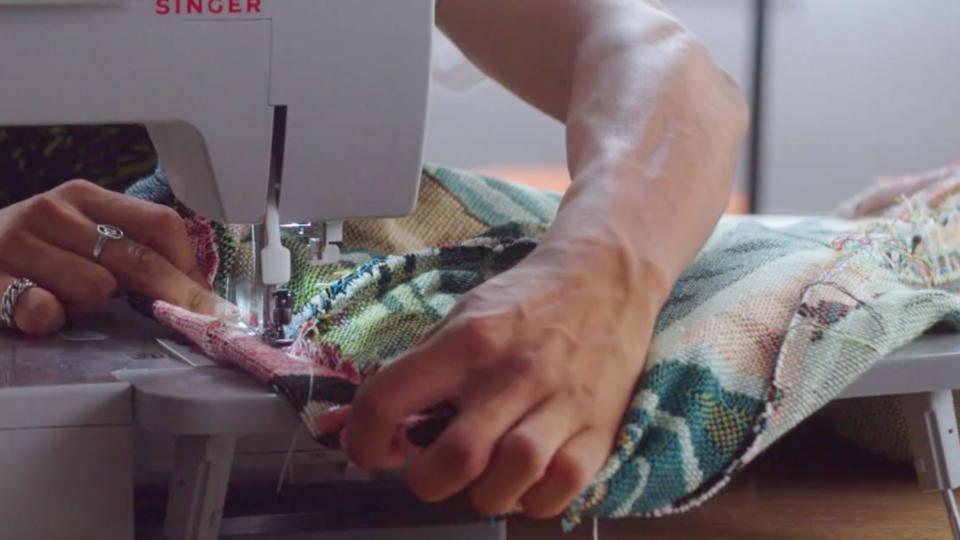
Step 5: Sew the Pants
Place the two pant legs on a sewing table, and using a sewing machine, sew all the way down the seams of one leg using a zigzag stitch. Fold the right sides of the pant leg together, lining up at the crotch of the pants, and start pinning. Sew again, using a zigzag stitch, starting from the bottom and working up. Repeat the same process for the other leg.
Once the other leg is set, it’s time to assemble the pants. Wandy recommends turning one leg inside out, taking the other pant leg, putting your arm through it, and putting the leg inside the inside out leg so that the right sides of the pants are facing each other. Next, line up the two seams in the crotch area, and place your first pin. Work your way down the seam with pins, and sew the legs together with a sewing machine.
Step 6: Add the Waistband
Once your pants are constructed, fold down the waist so that it’s slightly longer than the width of the elastic. Once the fabric is folded, it’s time to start pinning. Wandy also recommends trimming off some of the excess fringe from the inside.
Start sewing, making sure to leave about a two-inch opening for the elastic. For the elastic, Wandy recommends using your normal waist size, minus a few inches. Insert the elastic, making sure it loops all the way around the waist, and pull out the ends of the elastic, and sew them together. Finally, close out that last hole, and your blanket pants are ready to rock!
Our team is dedicated to finding and telling you more about the products and deals we love. If you love them too and decide to purchase through the links below, we may receive a commission. Pricing and availability are subject to change.
The post How to make genuinely stylish pants out of a blanket appeared first on In The Know.
